

For quite a while I have been curious about the pastel making process and how to make my own ones. A blog post by the American pastel artist Casey Klahn gave the last impulse. I had so many left overs, the broken bits of pastel sticks and didn’t know what to do with them. Throwing them away seemed to be such a waste.
© Marc Volquardsen, 2012
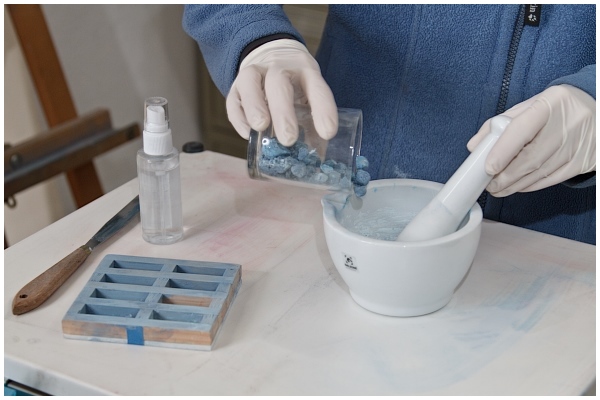
In the first step I ground the left overs thouroughly. If you have many pieces do this more often or otherwise your pastel paste isn’t homogeneous enough und you might enclose tiny bits of differnt colours. In this picture I used a mortar which unfortunately took on the pigment and won’t be of any use for another colour shade except blue. I would advise to use a mortar made out of glas combined with a glas bowl.
© Marc Volquardsen, 2012
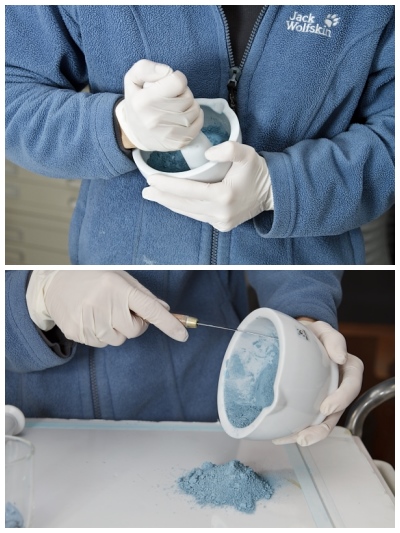
In the next step I add destilled water to the pigment with a spray bottle . The destilled water is important because otherwise you might risk adding germs to the pastel paste which could cause mould.
No additional binders or other bodies are needed in this process, because the pastel left overs have already binder in them.
For healthy reasons please make sure that you wear a mask during the whole process.
© Marc Volquardsen, 2012
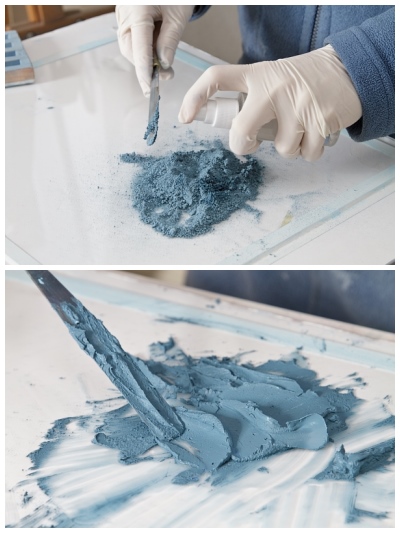
At this point you could halving the paste and add white pigment to achieve a set of different values. Don’t fall in love with the colour you made from the left overs, because it will be very hard to reproduce.
© Marc Volquardsen, 2012
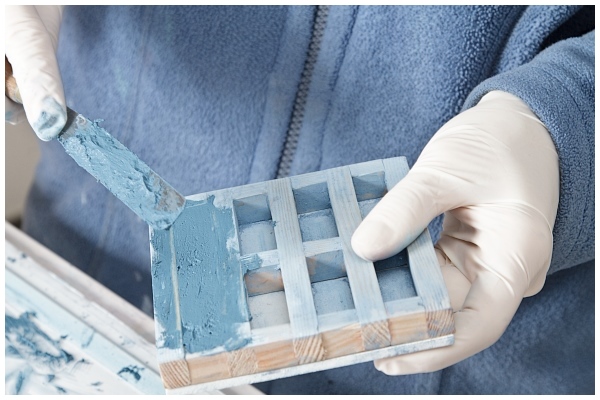
Now, you can roll the paste till you have a stick. Luckely my father build a wooden box for me in which I fill the paste and let it rest for a day. After that the pastel sticks easily get out. Let the pastel sticks rest for another 6 days until they are completely dry.
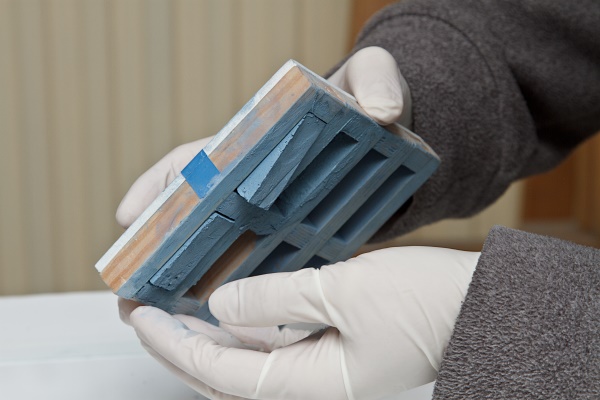
© Marc Volquardsen, 2012
Birgit
Supertoll, vielen Dank für die Anleitung!!
Casey Klahn
I particularly love the boxes. My system isn’t as consistent, and I get rounded squares.
Six days! That is at least as long, if not longer, than on the coast here. Wow! I find when they are room temperature, they are dry.
Very well blogged!
Astrid
Hi Casey,
after 3 days I still had the feeling they hadn’t completely dried, but after 5 to 6 days it felt as the other pastel sticks I had bought in a shop. I didn’t put them on a heater, because I read somewhere that this might lead to cracks in the stick during the drying pcrocess.
Angela
Hallo Astrid,
das ist ja eine tolle Anleitung um Pastelle herzustellen. Schön auch wenn so schöne Zuarbeiten wie das Bauen der Kästen greifbar sind. Noch bevor ich las, man solle sich nicht in den Farbton verlieben, war es um mich geschehen.
Es ist immer wieder interessant auf deiner Seite. Weiter so!!
LG Angela
Astrid
Hallo Angela,
wenn ich an deine Bildmotive und Farben denke, kann ich mir sehr gut vorstellen, wie das Blau auf dich wirkt:-)